BLOG 1

PLOUGH POSE FOR JANUARY

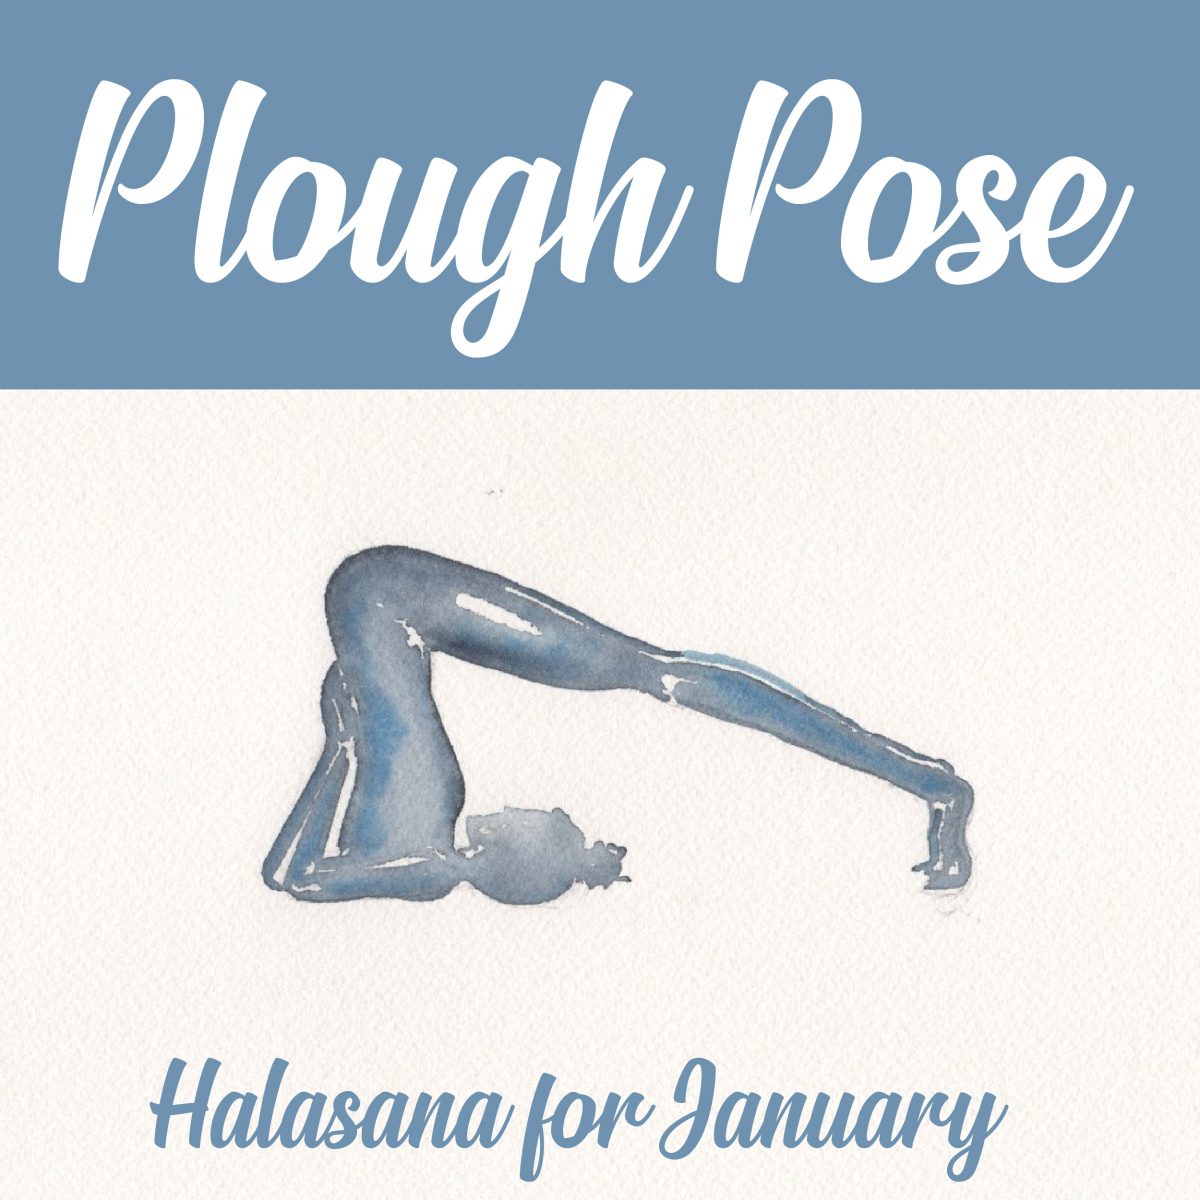
HALASANA - PLOUGH POSE

Happy new year, wonderful Zamis! We hope you've had a simply delicious festive season and an excellent start to the fresh year that is 2019!!

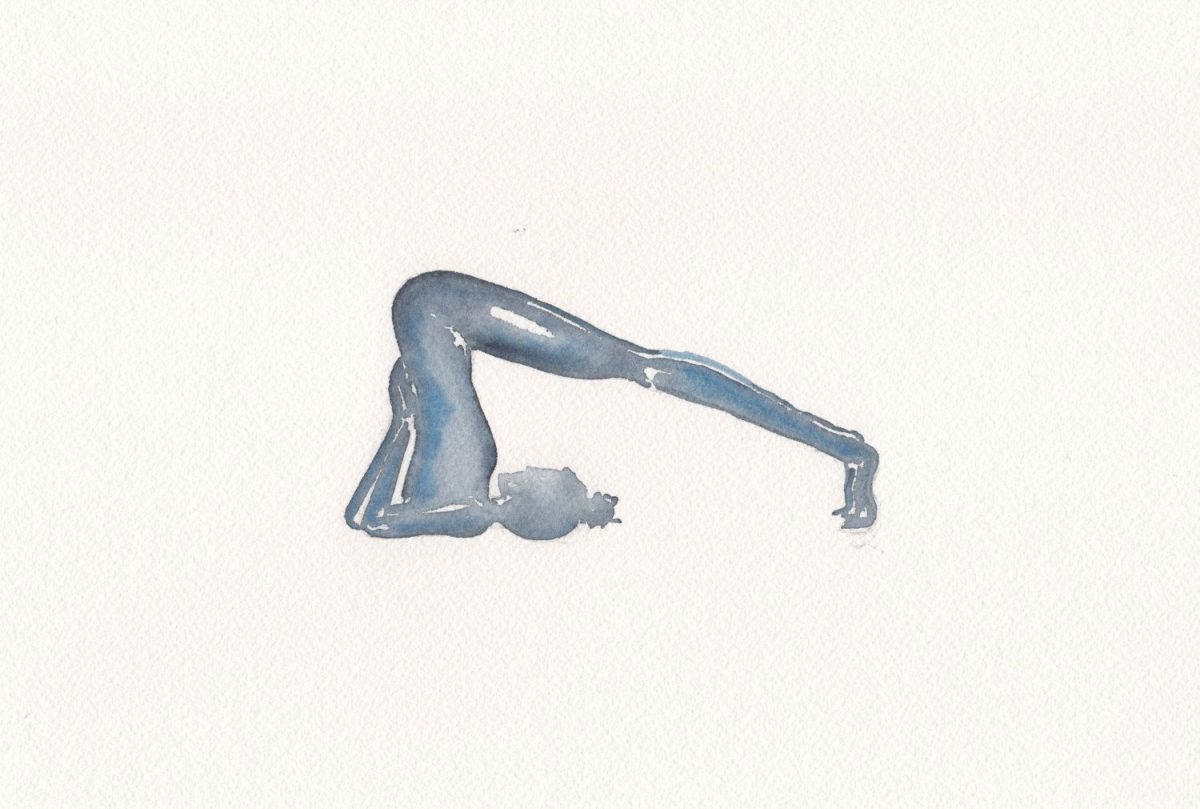
This month's featured pose, or Zamasana, is Plough Pose (also known as Halasana). Plough pose stretches our shoulders and spine, but more importantly it can help you sleep (might be handy, this time of year!), and is therapeutic for headaches, sinusitis and backaches. It also feels like a surrendering pose - we surrender to the year that is to come, and we are ready for all of the joy it has in store for us!

HOW TO

  1. Start in Shoulder Stand. (You can modify your Shoulder Stand by not fully straightening the legs.)
  2. Steady yourself, and on an exhale slowly bend from the hips and lower your straight legs until your toes reach the floor above your head.
  3. If your toes meet the floor, draw your tailbone towards the ceiling and your chin away from your sternum. You might like to extend your arms out, to rest on the floor.
  4. If your toes don't meet the floor, keep your elbows bent and your hands pressed on your lower back. You can keep your legs extended with toes hovering above the floor, or bend your knees and let the feet rest wherever comfortable.
  5. To leave Plough pose, bring your hands to your lower back, lift your legs up into Shoulder Stand again, and then slowly and gently unroll along your mat until you are laying flat on your back.
(CHRISTMAS) TREE POSE FOR DECEMBER

VRKSASANA

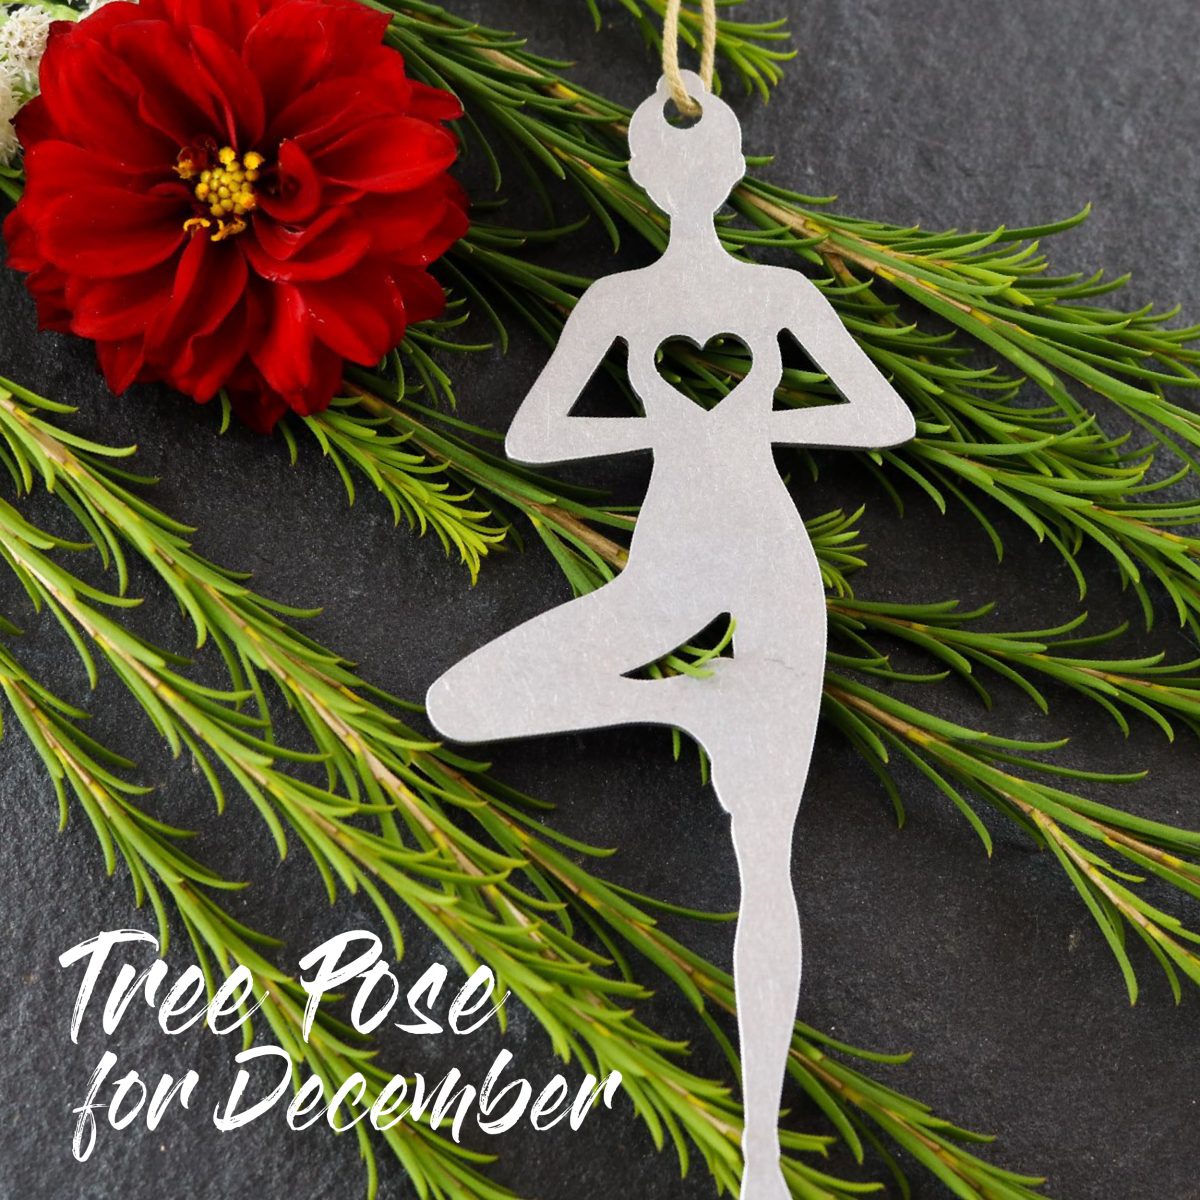
This month's featured pose is Tree (also known by its Sanskrit name, Vrksasana) - because it's the time of year that we put the Christmas tree up, so we think each and every one of you can be your own Christmas Tree - including the sparkling star on the top!

HOW TO

  1. Begin in Tadasana (Mountain pose). Shift your weight into your standing leg, ground down, and lift your other leg.
  2. Reach down and use your hand to grasp your lifted leg's ankle. Firm through the standing leg, then place the sole of your lifted foot on the opposite inner thigh, if that's available to you. Press thigh into foot and foot into thigh. If the inner thigh isn't available to you, rest your foot instead onto your calf, or ankle.
  3. Pick a dristi point, a fixed spot on the wall in front of you, and keep your gaze fixed there.
  4. Ensure your pelvis is centred and tipped back, and lengthen the tailbone towards the floor. Once steady, raise your hands to heart centre, straight up into the air, or in prayer mudra above your head. You might even like to let the arms sway side to side, like a tree in a summer's breeze.
  5. Hold the pose, then to leave, extend the lifted leg forward, then place it gently, with control, on the ground, and return to Tadasana.
  6. Repeat on the other side.

CHANGE IT UP

Get festive - grab some mates, link arms side by side, and do Tree all together!

Once the festivities are over (perhaps on Boxing Day), you might need a little lie down... and for that, we suggest Reclined Tree! Reclined Tree is Tree pose, but lying on your back on your mat. Start in Savasana, then engage your legs, and bring one foot to the inner thigh of the other leg. Lay back and breathe... and don't be surprised if you start napping!

BIRD OF PARADISE

Bird of Paradise

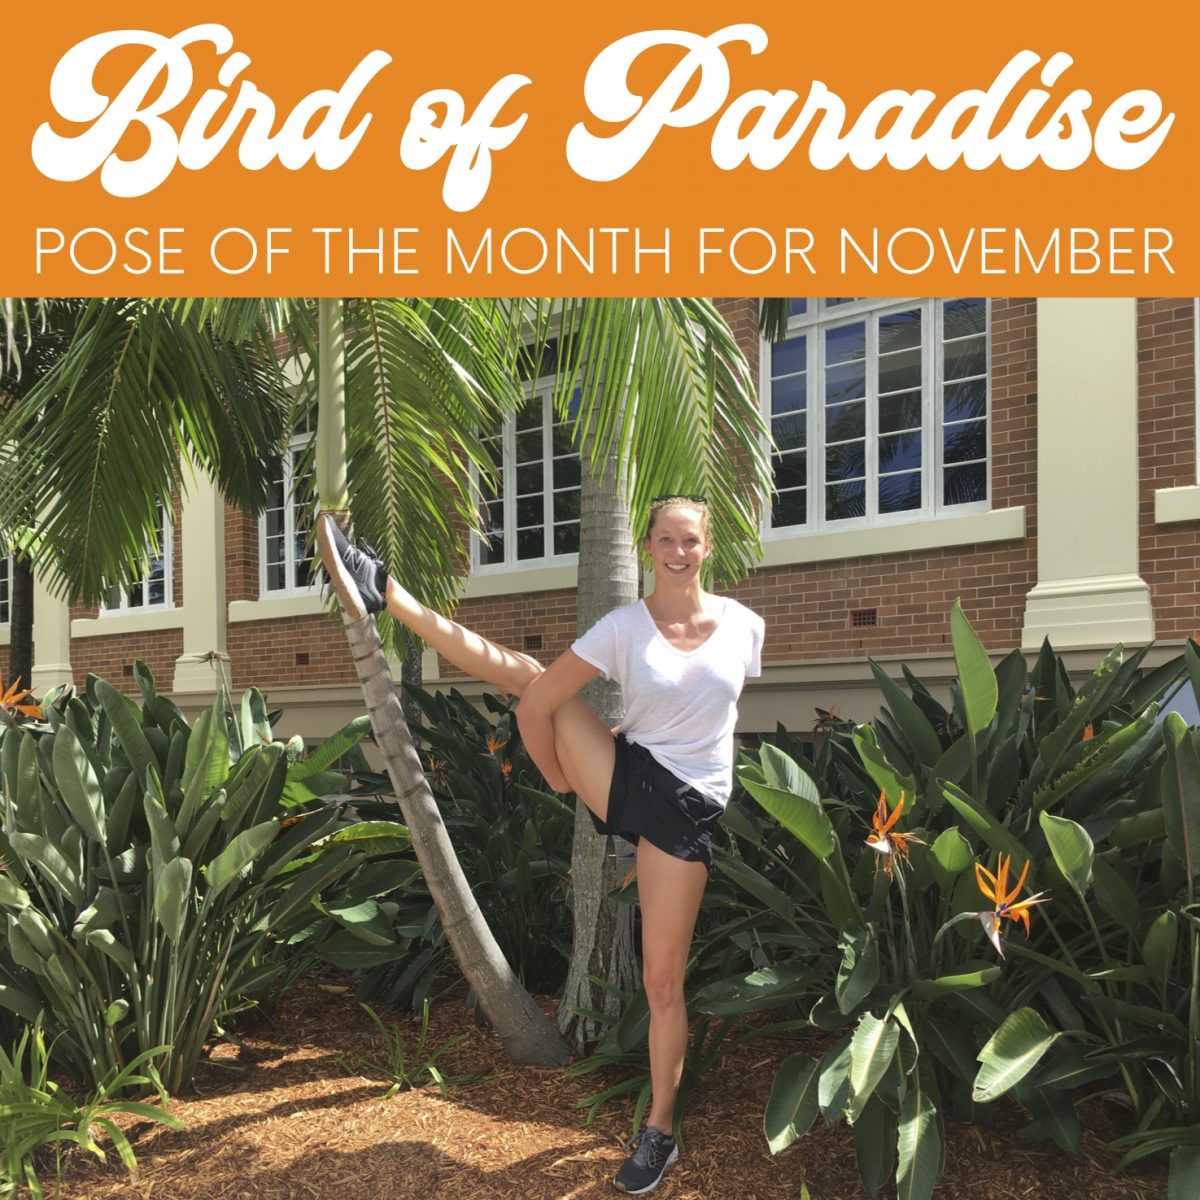
Bird of Paradise pose is also known by the Sanskrit name Svarga Dvijasana. 

Just like the flower that shares its name, as this pose blossoms it opens with grace and strength. There are several poses that prepare the body for Bird of Paradise, including Tree pose, Bound Triangle pose, Extended Hand-to-Big-Toe pose, and bound Extended Side Angle pose.

HOW TO

  1. Begin in Warrior II pose, with left foot forward and left knee bent. On the exhale, draw your left arm under the inside of your left thigh and bring your right arm up and then behind your back. Draw hands together until they clasp and twist your upper body to the sky as you settle into Bound Extended Side Angle pose.
  2. Turn both feet to the front of the mat and start to creep them towards each other until they are hip distance apart and your torso is flattened to your thighs. Maintain the bind.
  3. Shift all your weight into your right leg and begin to carefully lift your torso, raising your bent left leg with it. Raise up until you are standing tall, crown of head to sky. You may like to stay with this variation, Bird of Paradise with a bent leg. Otherwise, continue:
  4. Expand the chest and draw the lifted left leg to the side as you slowly extend it, finding your balance in the pose. Revert to a bent leg to find steadiness. Hold your gaze steady and deepen your breath.
  5. Come out of the pose the way you came into it, in reverse.
  6. Repeat on the other side!

Enjoy your moment in Paradise!

Om the Universal Sound

OM THE UNIVERSAL SOUND

Om the Universal Sound

POSE OF THE MONTH

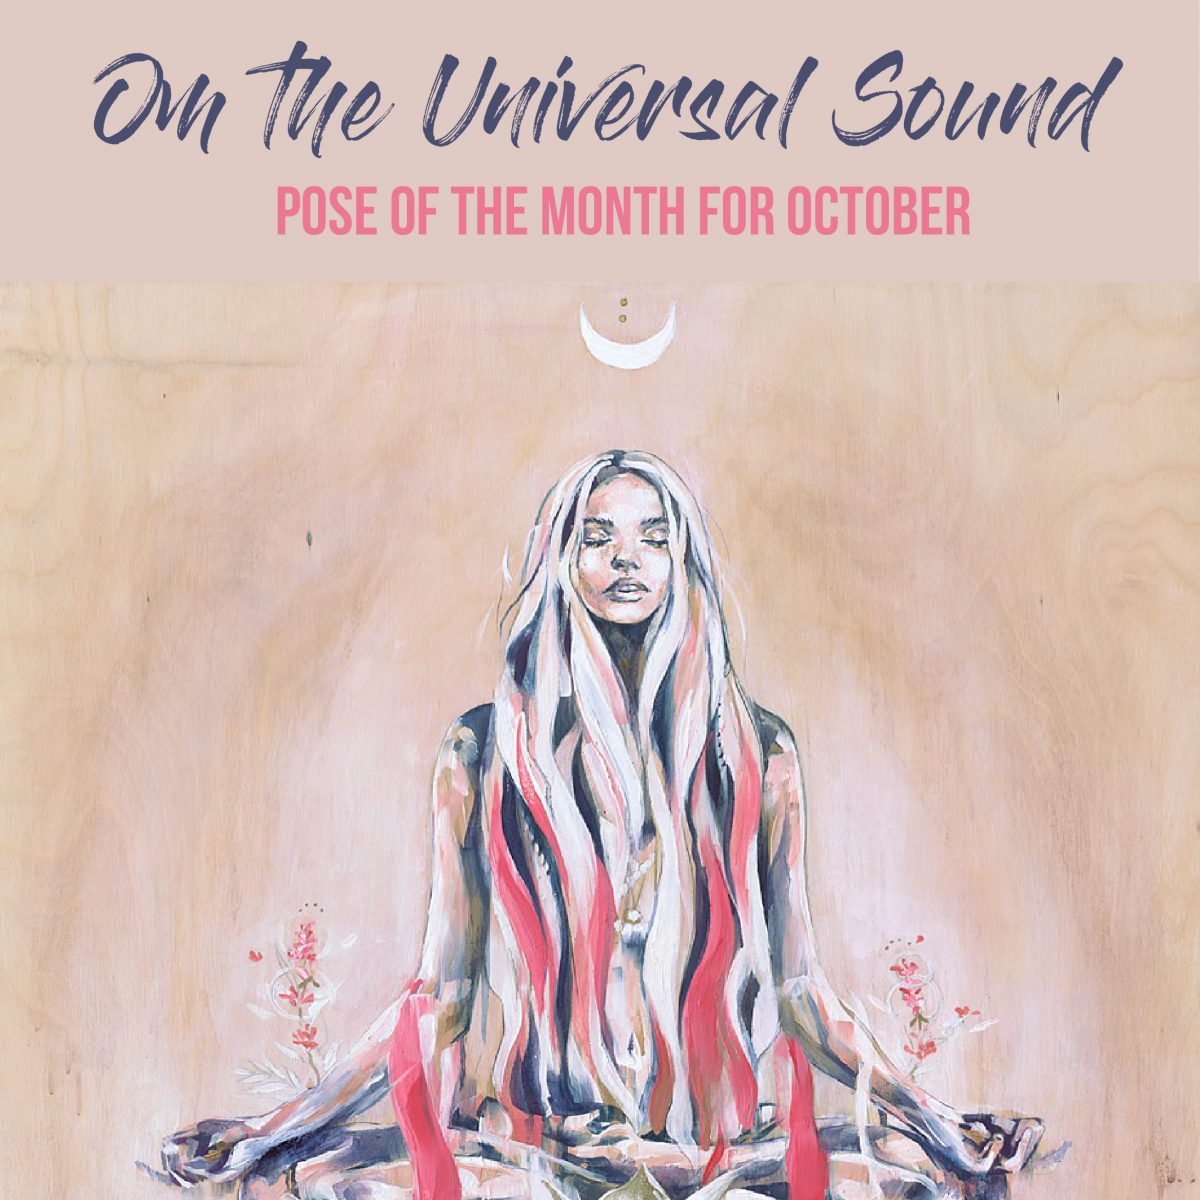
Have you ever wondered why we Om? Om has been practiced for thousands of years and is the universal sound that creates union and peace between body, mind and soul. Chanting Om connects you to the supreme sound or frequency and it reverberates through our bodies, filling it with energy, tranquility, and positive vibrations which charge up our surroundings.

Om Meditation

Om doesn't have to be chanted just at the end of a practice. A beautiful meditation technique is Om Meditation where the sound of Om is constantly repeated. It is divided into four parts for around 5-10 minutes for each part and can be done individually or as a group.

Part One: Constant Om chanting loudly
The first Om is chanted all together. You are then to rely on your own individual timing and breath so don't have to be in time with the group. The sound should be spontaneous and as long or as short as you want. The sound can be low or high but it should be loud. It's encouraged to allow the volume to be increased so you can fully express your Om without any inhibition and to increase the vibration experience in your body.

Part Two: Constant Om chanting whispering
The chanting is almost like a whisper so that only you hear it becoming a quiet vibration that allows for the mind to move inwards.

Part Three: Constant Om chanting silently
Follow this by continuing to chant Om in the same way however it is now silent so there is no noise but you hear it in your mind.

Part Four: Observation
The final part of the meditation is to simply just observe and witness. You can do this seated or lying down on your back.

"The Mantra Om is to be repeated constantly, with feeling, realising it's full significance." ~ Sutra 1:28 (Yoga Sutras of Patanjali)

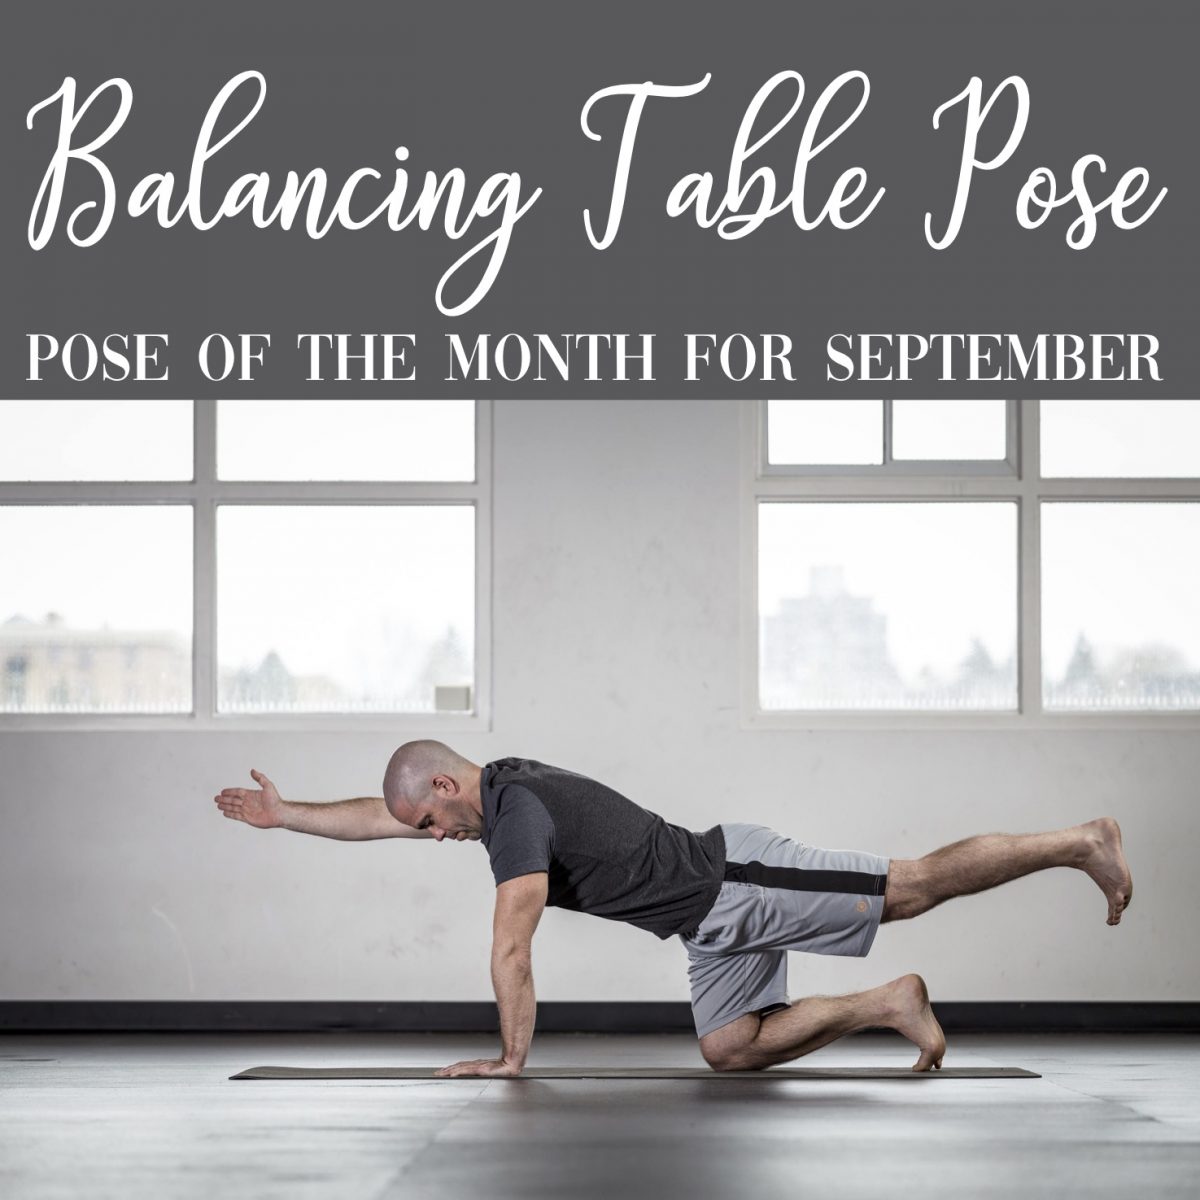
BALANCING TABLE POSE

POSE OF THE MONTH

We're celebrating Reformers Pilates classes starting in Toowoomba this month, so we decided to feature a pose that is used in both yoga and Pilates!

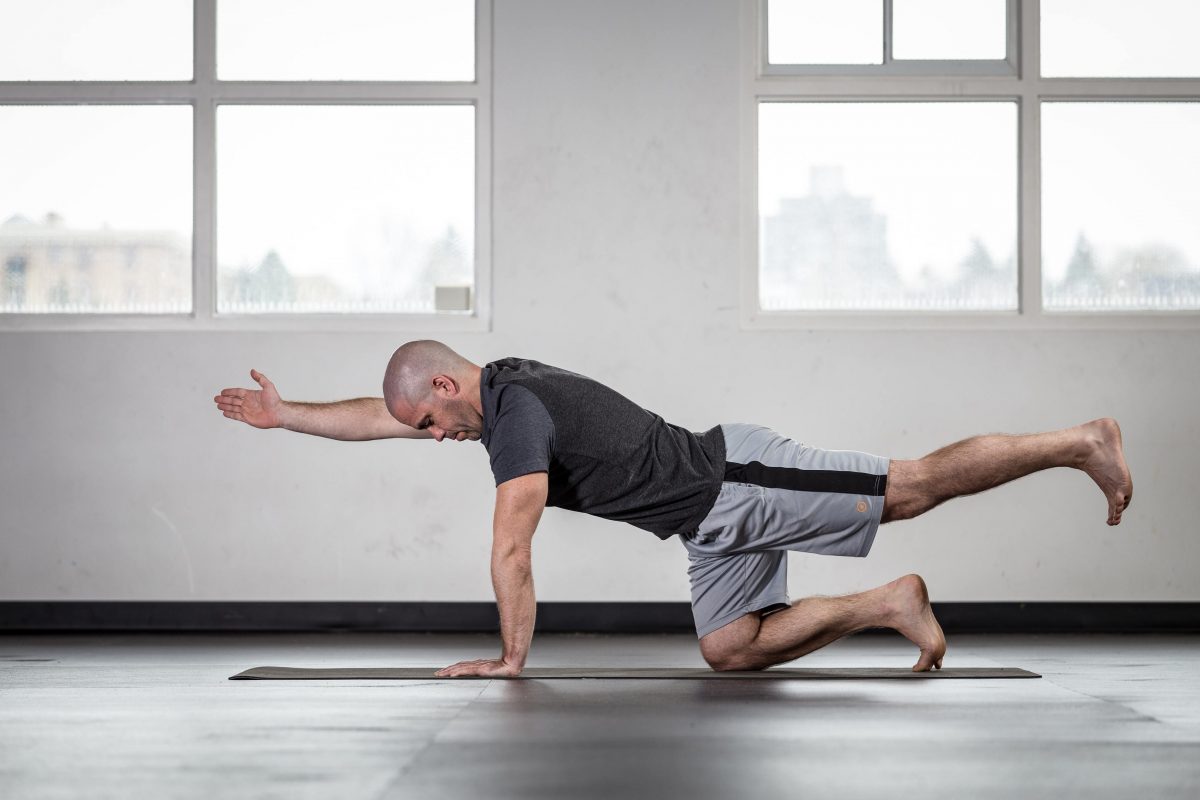
Balancing Table Pose (also known as a variation of Prone Kneeling Leg Extensions in Pilates) is an amazing way to combine a core strengthening move with a balance posture. This pose builds abdominal and lower back strength, and helps build focus and concentration.

HOW TO

  • Begin on hands and knees, in tabletop position - hands directly under shoulders, knees below hips.
  • Gazing towards the top of your mat, on an exhale draw your belly button towards your spine as you extend your right leg behind you, foot flexed. Your leg should be continuing the long line from your head and spine.
  • Ensure you are steady, then extend your left arm towards the front of the room at shoulder height, fingers stretching forward.
  • Hold and breathe, and then repeat on the other side. Keep switching sides, slowly and with control.

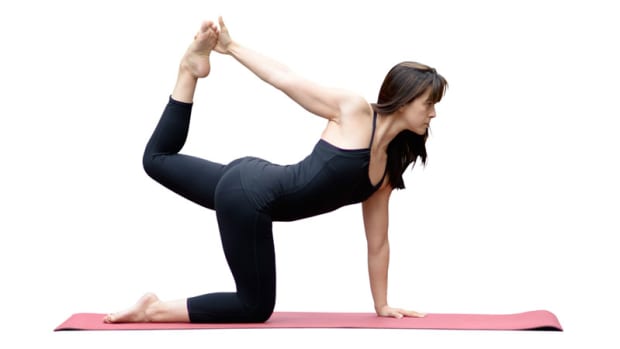
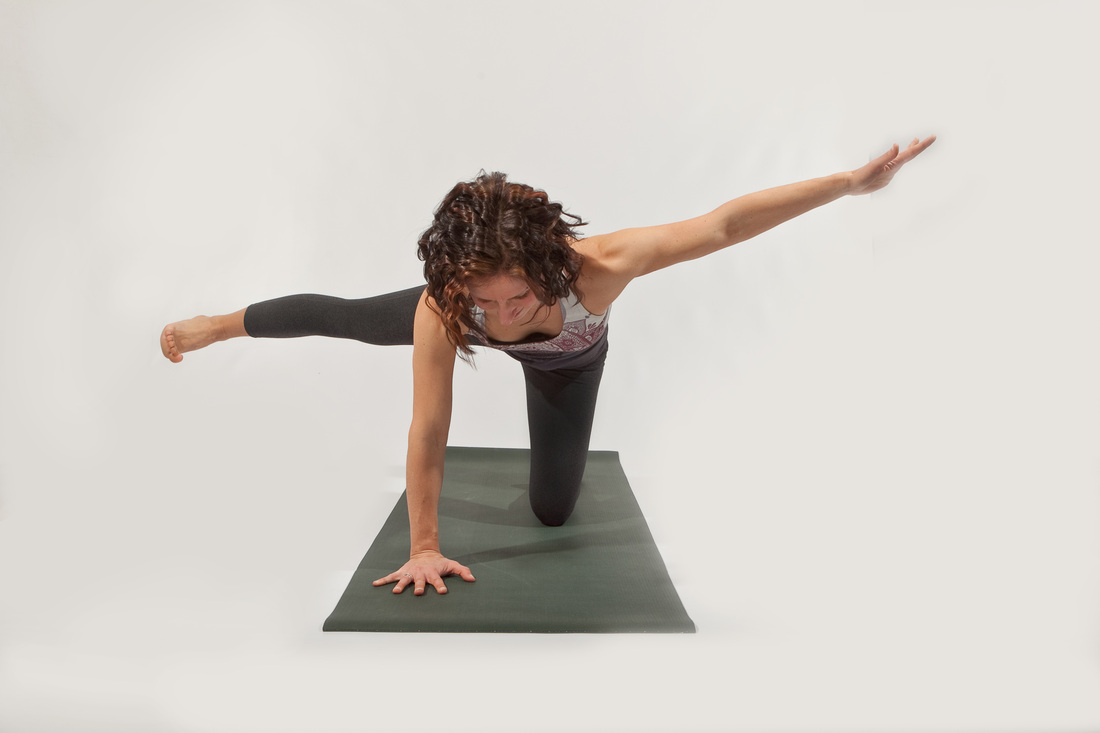
CHECK OUT THESE VARIATIONS AND EXTENSIONS OF THE POSE

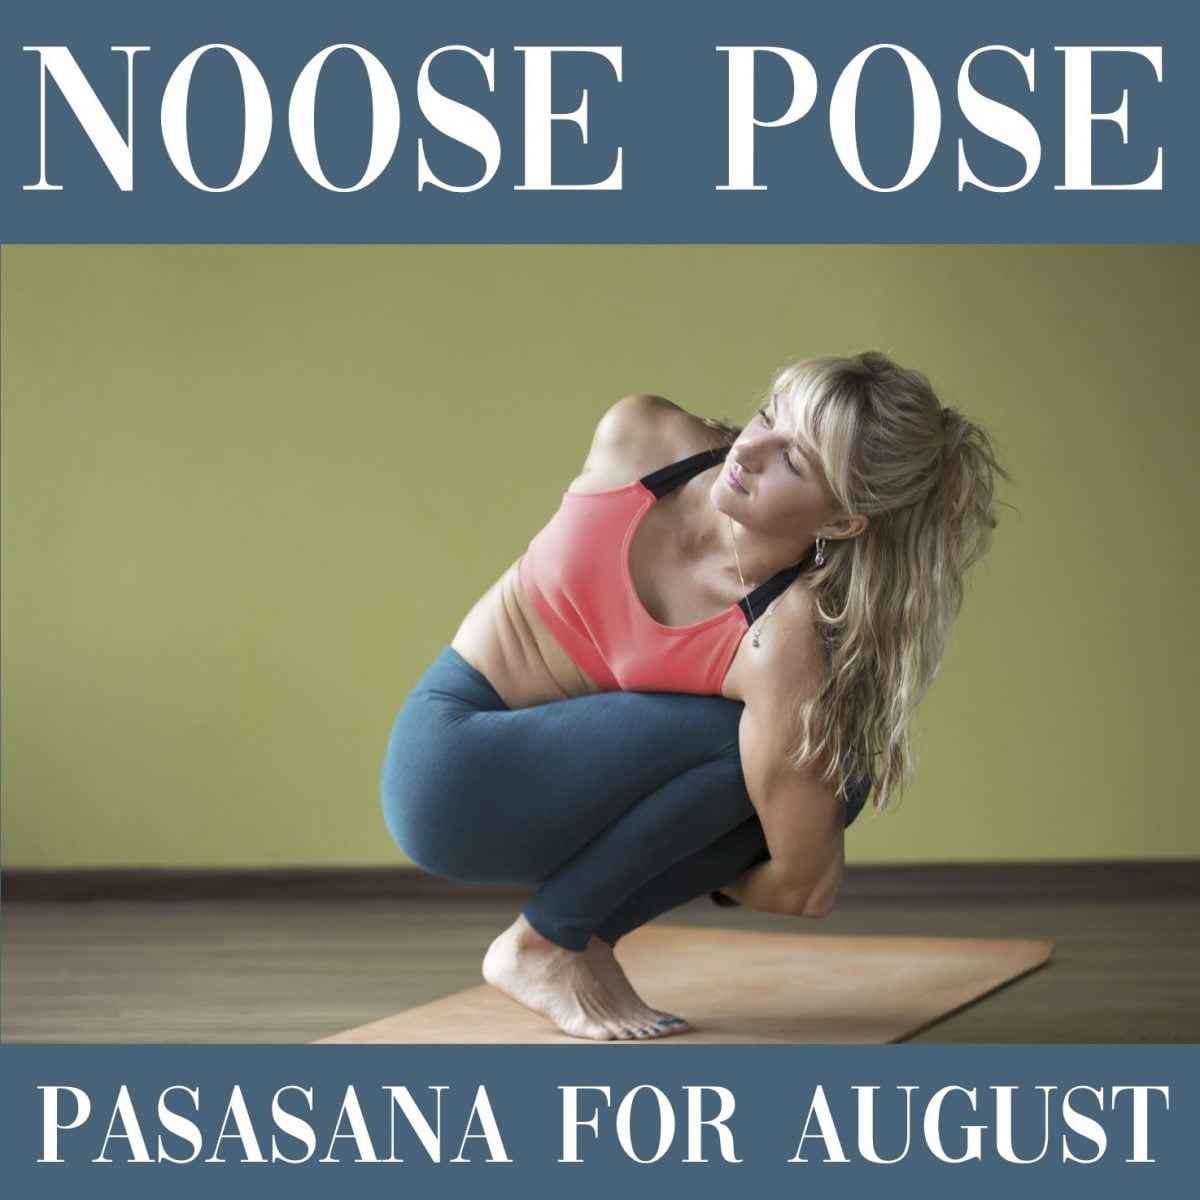
NOOSE POSE FOR AUGUST

PASASANA BIND

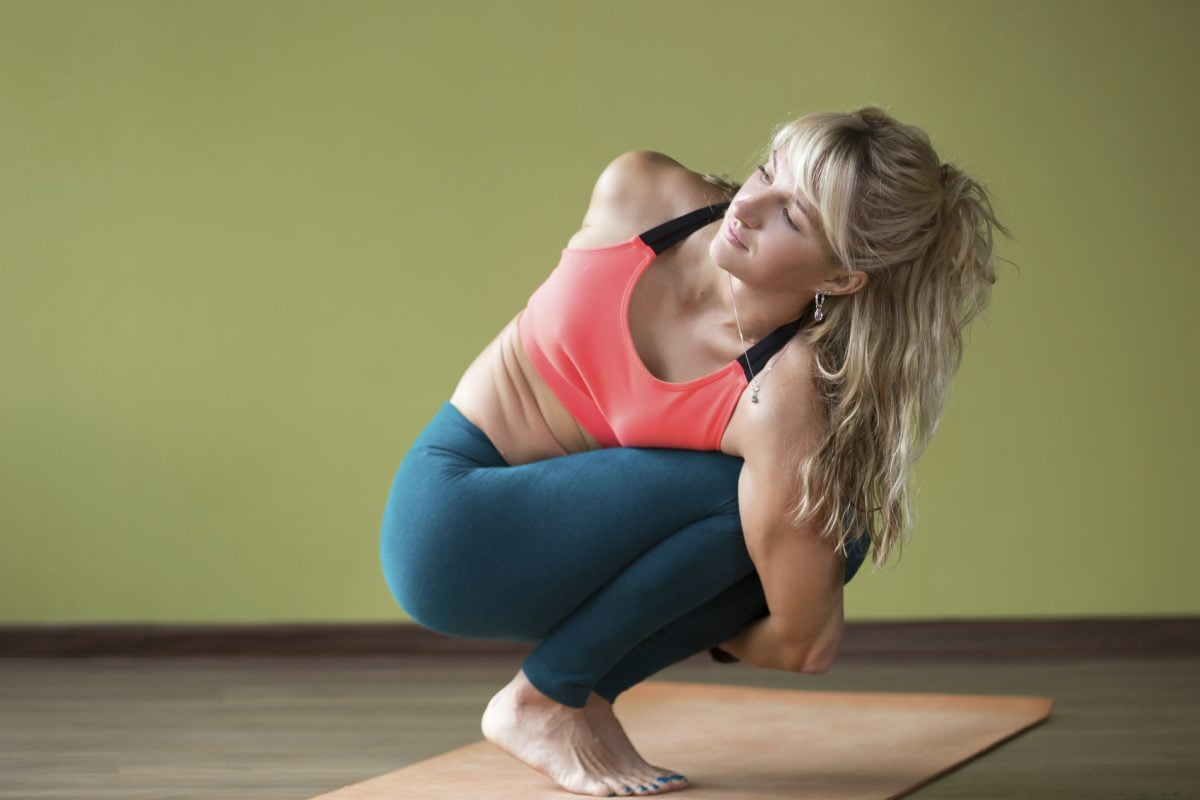
Noose Pose, or the Pasasana bind, as it's known in Sanskrit, is a more subtle challenge pose than the show-y 'Bird of Paradises' of the world, but it is certainly tough in its own right! In Noose pose, the arms wrap around the crouched body, with an aim to link hands behind the back - forming a "noose". A lot harder than it looks!

Props are your best friend when working towards Noose pose - a blanket (or your mat) rolled up under the heels while squatting may help, as well as using straps to draw the hands towards one another. You can also use a wall to help.

HOW TO

  1. Begin standing in Tadasana, feet hip-width and parallel. Crouch into a squat, rolling up the mat or a yoga blanket if your heels don't touch the floor.
  2. Draw your knees slightly to the left as you twist your torso to the right on an exhale. Press your left elbow into the outside of your right knee, stretching the left arm low, and raise your right arm high, helping the torso twist further to the right.
  3. From here, move the left arm as far down the left leg as your body allows - aiming for left shoulder to be pressing firmly into right knee.
  4. Keeping the belly soft, try to elongate the left side so that it glides across the thighs. From here, you can bend the elbows and join the hands in prayer position, remaining twisted to the right. For the full pose, however, keep left armpit tucked towards right knee and twist the left arm so that it wraps around the shins.
  5. Lift the right arm high and wrap it around the back, until the hands can clasp. This is a challenging reach, so use a strap to draw the hands together.

Poses that help work towards the full Noose Pose:

  • Malasana (squat pose)
  • Half Lord of the Fishes pose
  • Revolved Side Angle pose
  • Revolved Chair pose
  • Marichyasana I & Marichyasana III
  • Bound Side Angle pose


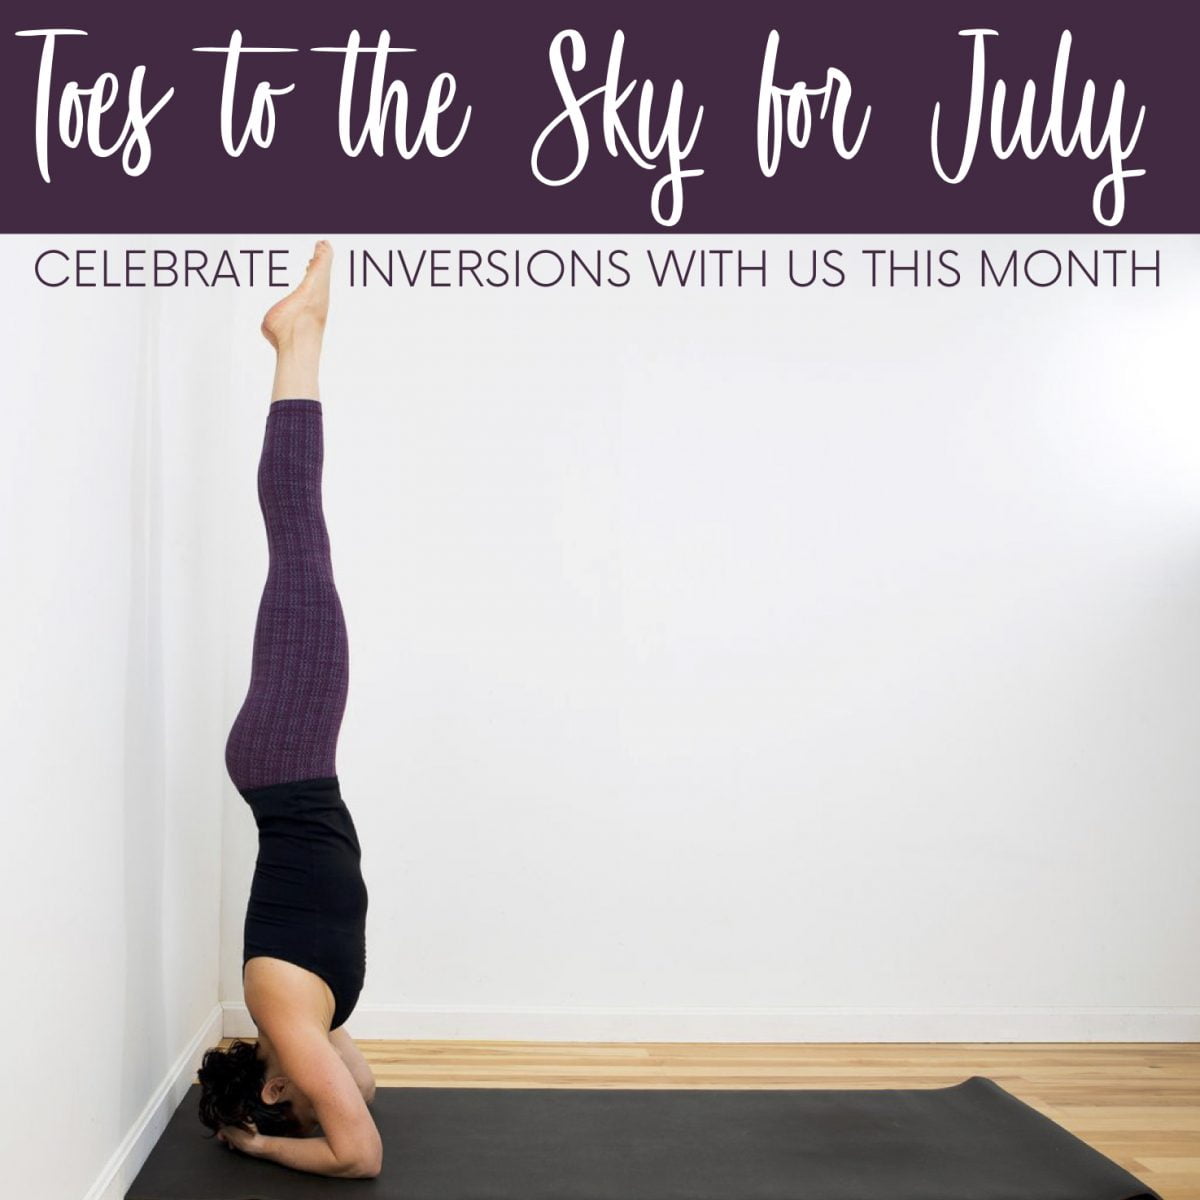
TOES TO THE SKY FOR JULY

CELEBRATE INVERSIONS WITH US THIS MONTH

Get those toes to the sky this July! We're doing something a little different for this month's Zamasana, and celebrating getting topsy-turvy in any way, shape or form. The aim is to just get your Toes to the Sky for July! You don't have to be an advanced yogi to do inversions, there's an inversion pose out there for every level! An inversion is any yoga pose where the heart is above the head. So that even includes the old favourite, Downward-Facing Dog!

What's so good about inversions? Gravity is your friend - getting upside down reverses the body's blood flow, and improves circulation. Inversions provide oxygen and blood flow to the brain, so are a great way to energise the mind and improve concentration when you're feeling tired (take note, students!). The more relaxing inversions (such as Shoulder Stand and Legs up the Wall) calm the nervous system and activates the parasympathetic nervous system which in turn totally relaxes the body and helps balance out feelings of stress or anxiety. Of course, the more active inversions ( like Headstand and Handstand) strengthens your core muscles and tones the shoulders and arms, as well as building concentration and focus.

Some toes to the sky moves to try:

Enjoy!


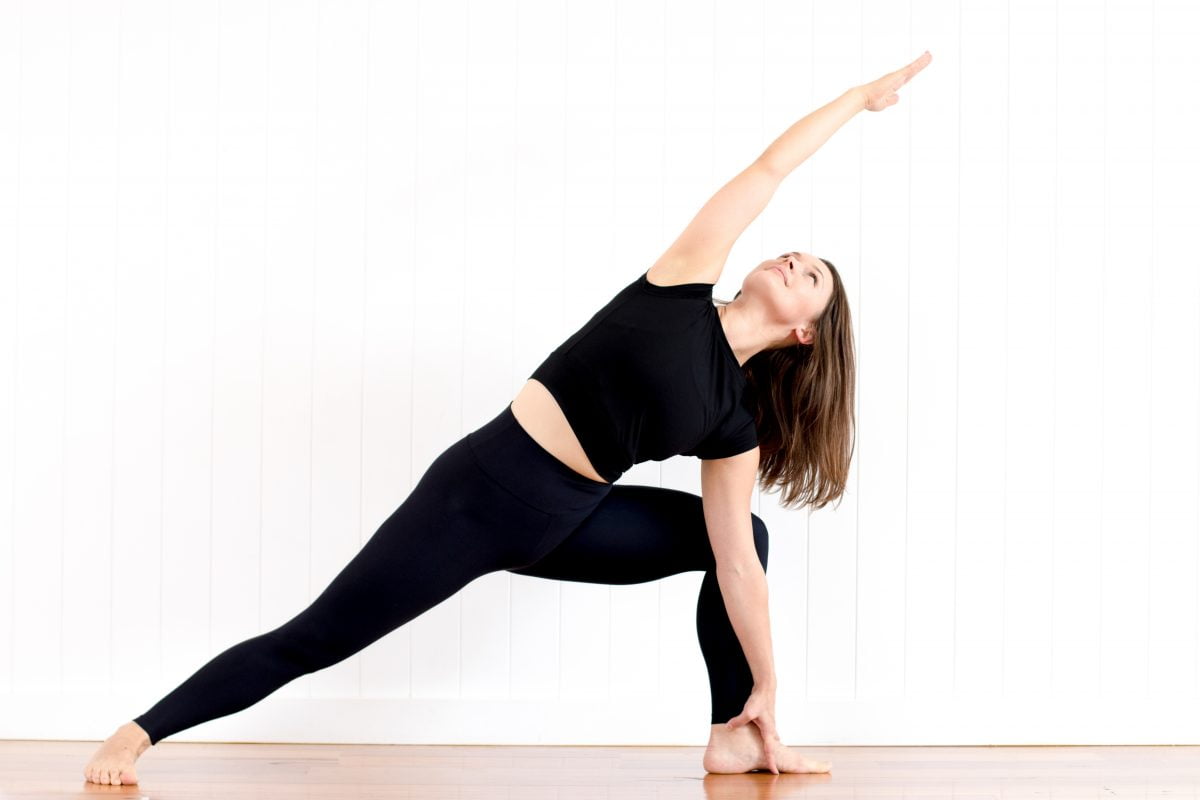
EXTENDED SIDE ANGLE POSE FOR JUNE

UTTHITA PARSVAKONSANA

We're finding that niiiice length in the side body this month by celebrating Extended Side Angle Pose (or Utthita Parsvakonasana) as June's Zamasana. It's a pose that gives you a stretch from the tips of your toes to your fingertips, as you create one long beautiful line with the body. This is a pose we come to often in a Vinyasa class, but there are lots of subtle adjustments and shifts that we can do to draw the most benefit from Extended Side Angle Pose.

HOW TO

  • Begin in Warrior II - legs stepped wide, left foot facing the front and right foot turned 90 degrees to the side, arms out and palms facing down as left thigh engages and left knee lowers forward until it's at a right angle above the toes, eyes facing forward.
  • Anchor the right heel (the back foot) into the floor and feel like your feet are pulling away from one another, as you lift your right (back) arm straight up to the sky. 
  • Flip the right palm to face your head, and as you draw the torso towards the left, bend the left elbow and rest left elbow on left knee. Extend and stretch the right arm so that you make one long line from your grounded right heel to your right fingertips. 
  • Stay in the pose for a few breaths. Draw right shoulder back to open the heart to the side of the room. If you have the space in your body, you might like to drop left palm to the floor, or reach down and use a block. Only do so if you can maintain that openness of the torso drawing to the right side of the room. 
  • From here, you might like to come into the bind. Wrap the right arm around your back, towards the left thigh. You might like to stay here, tucking the right hand into the inner thigh. Otherwise, lower left shoulder to left knee and reach left arm under the left thigh to clasp left hand with right. Draw that right shoulder back, and open through the chest. Enjoy the bind! And remember to breath!  
lotus mudra yoga

LOTUS MUDRA FOR MAY

lotus mudra yoga

LOTUS SEAL // PADMA MUDRA

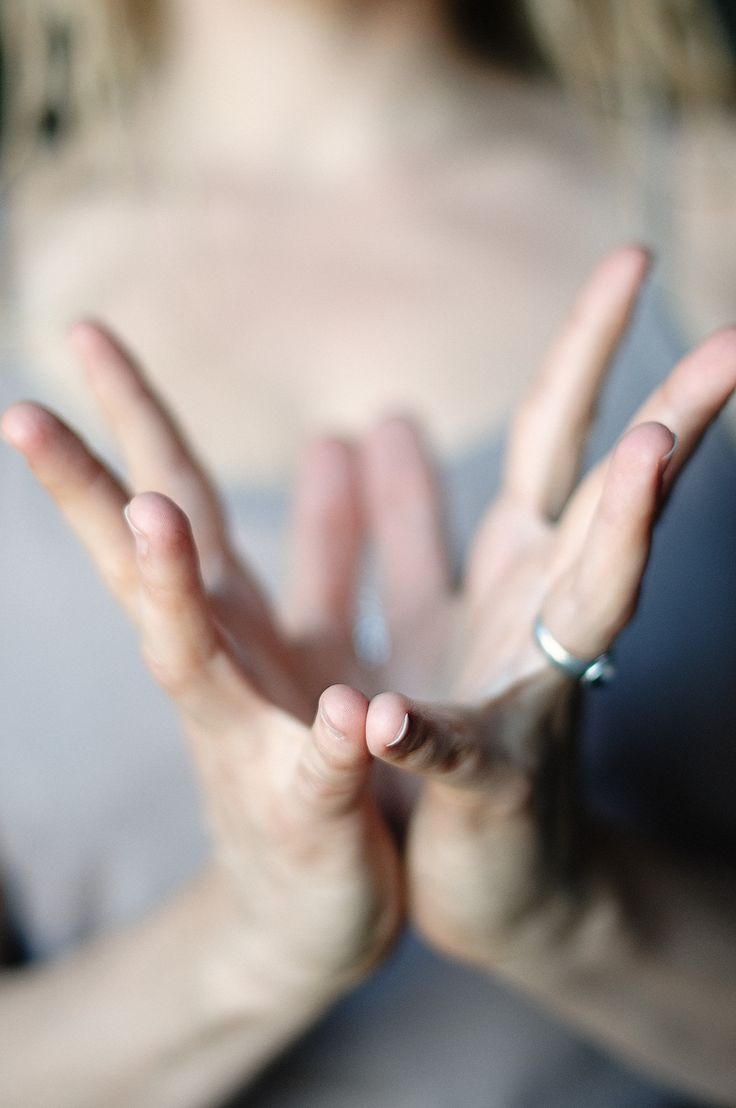
This month we're doing something a lil different - instead of a zamasana, we have a za-mudra for May! A mudra channels energy flow throughout the body and can be a powerful tool in meditation and yoga, and while some apply to different parts of the body, most are done using the fingers and hands. 

The featured zamudra of the month is Lotus, or Padma Mudra (padma means 'lotus' in Sanskrit, and mudra means 'seal'). Like the beautiful lotus flower, this calming mudra is said to represent purity - a beautiful flower floating above the muddy, un-clear waters of negative, selfish emotions.

HOW TO

  • To practice Lotus mudra, begin in Anjali mudra (palms gently pressed together, pointing skywards) at heart centre. 
  • Keeping the base of the palms pressed together, and thumbs and little fingers touching, slowly open the fingers to emulate the lotus flower, with the index, middle and ring fingers open and channeling the energy upwards. 


Typically, this mudra is practised while seated, but you might like to integrate it into more of your practice - while your hands are reaching skyward in Crescent Lunge, or perhaps while finding a place of steadiness in Tree. Yogi's choice! Get creative as you channel the beautiful Lotus. 

TRIKONASANA FOR APRIL

ZAMASANA OF THE MONTH

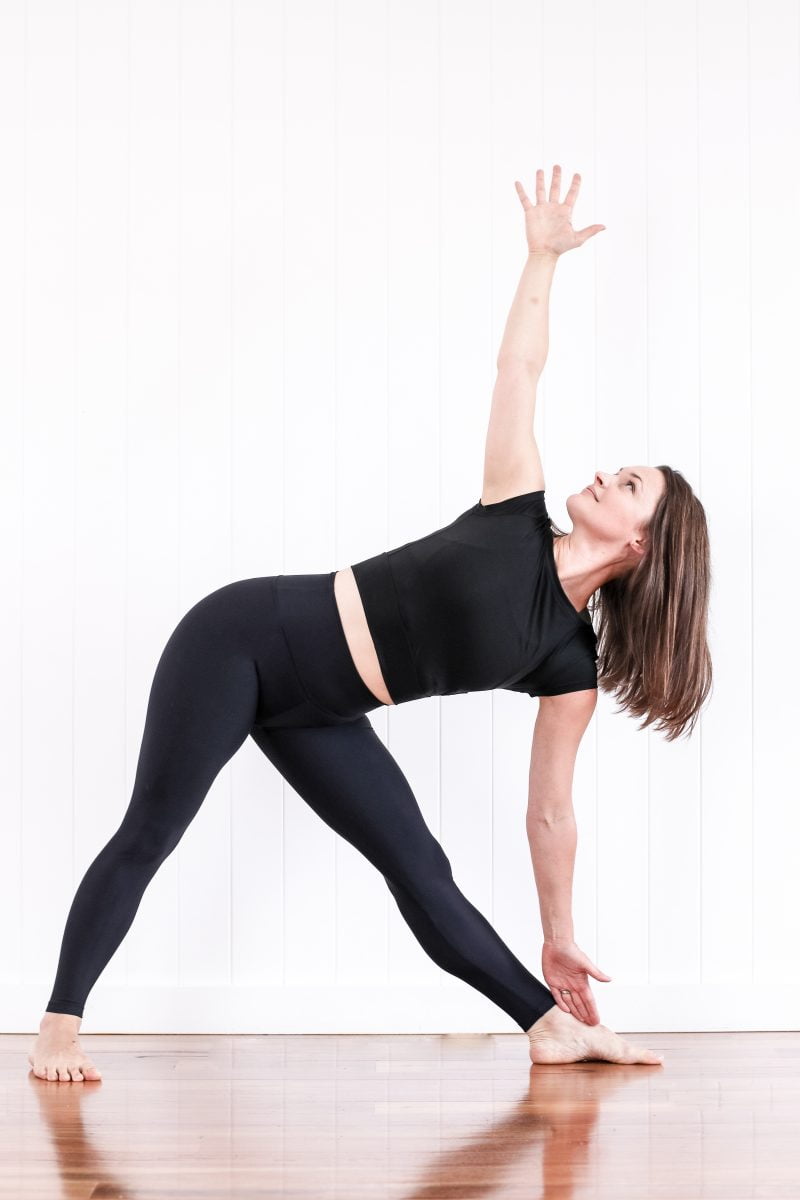
This month’s featured pose is an oldie but a goodie – Trikonasana, or Triangle pose (full Sanskrit name Utthita Trikonasana – Extended Triangle Pose). It’s a shape we put our bodies into again and again in class, but there are so many subtle shifts and adjustments you can make to enhance the pose to feel the true effects for the body. To help the visualisation, the goal of this pose is for your spine to be parallel with the floor, and your arms perpendicular to the floor, hence creating the triangular shape with the body. 

HOW TO

  1. Begin by standing in Tadasana, then step your feet out wide, and raise the arms to shoulder height, actively engaging them as they stretch out to opposite ends of the room. 
  2. Set up your feet – turn the left foot slightly to the right, and the right foot all the way to 90 degrees, facing the front, with heels in line. Engage the thighs, and outwardly rotate the right thigh so that it faces the same direction as the foot. 
  3. Inhale, and then on your exhale, shift the pelvis to ensure the bend is coming from the hip, not the waist, float your torso over the right foot. Ensure that the left leg remains strong, with the foot pressing firmly to the floor. Rotate your torso to the left, opening up with the chest. 
  4. Rest your hand on your shin, or the ankle, or the floor, or resting on a block. Commonly, people compromise the shape of their Triangle by trying to reach further than their flexibility truly allows. Extend the left arm to the sky, activating right out to the tips of the fingers. 
  5. Don’t tuck the tailbone under, instead keep the spine neutral. Draw the top hip back and open the top shoulder to flatten the body into one long line. You can either keep your head neutral or turn to look up at the top hand. 
  6. Repeat on the other side.